What is a vMix Overlay?
A vMix overlay is a graphical element that sits on top of one or more live video feeds. Unlike full-screen graphics, overlays have transparent sections, allowing cameras, slide decks, or other sources to remain visible behind them.
Technical Specifications for vMix Overlays
When creating a vMix overlay, follow these technical guidelines:
- Resolution: 1920×1080 pixels
- Color Mode: RGB
- File Format: PNG (supports transparency)
The key feature of an overlay is transparency. PNG files allow you to create see-through areas in your design, ensuring that the live stream looks exactly as intended.
Design Considerations
1. Purpose and Placement:
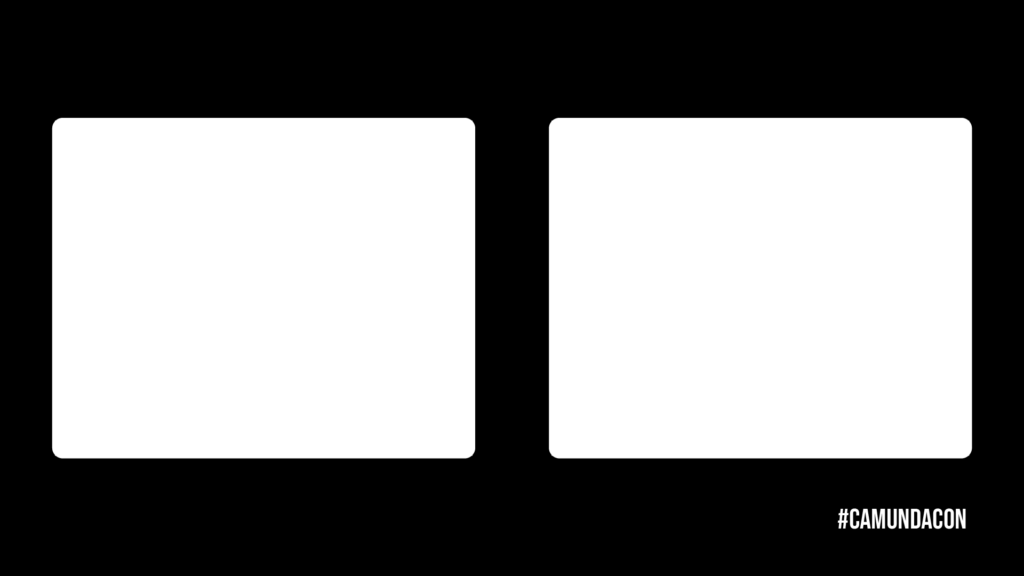
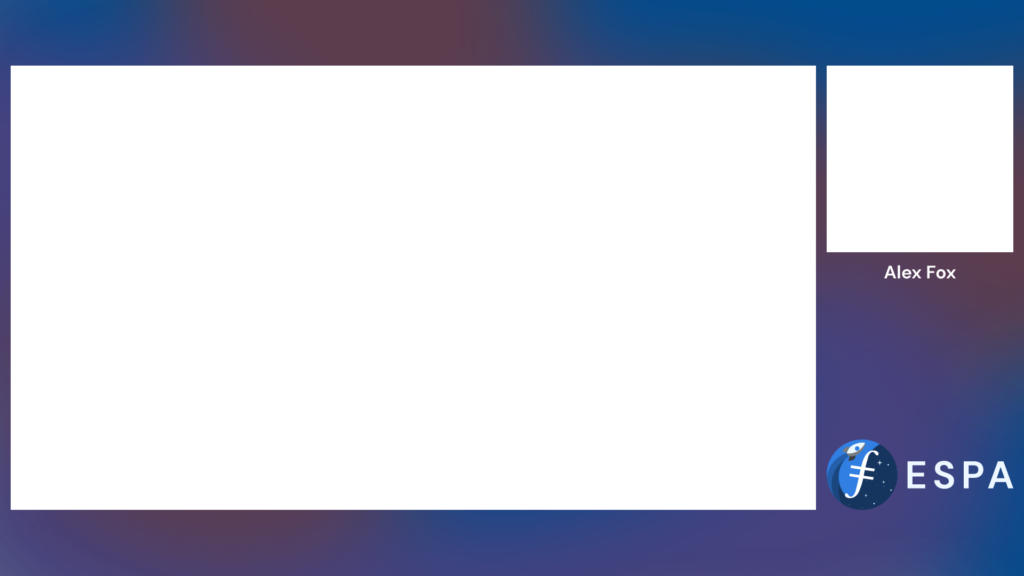
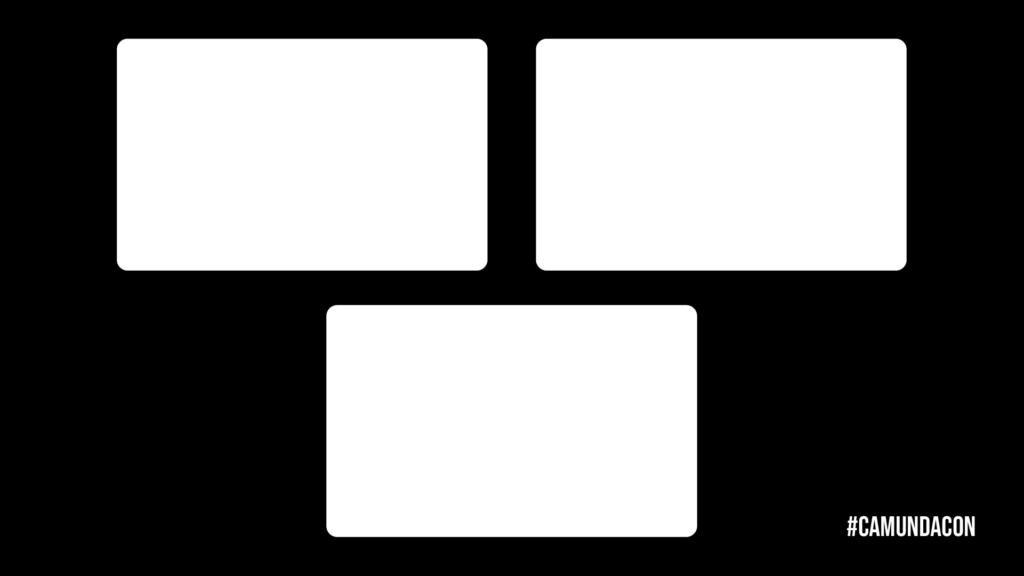
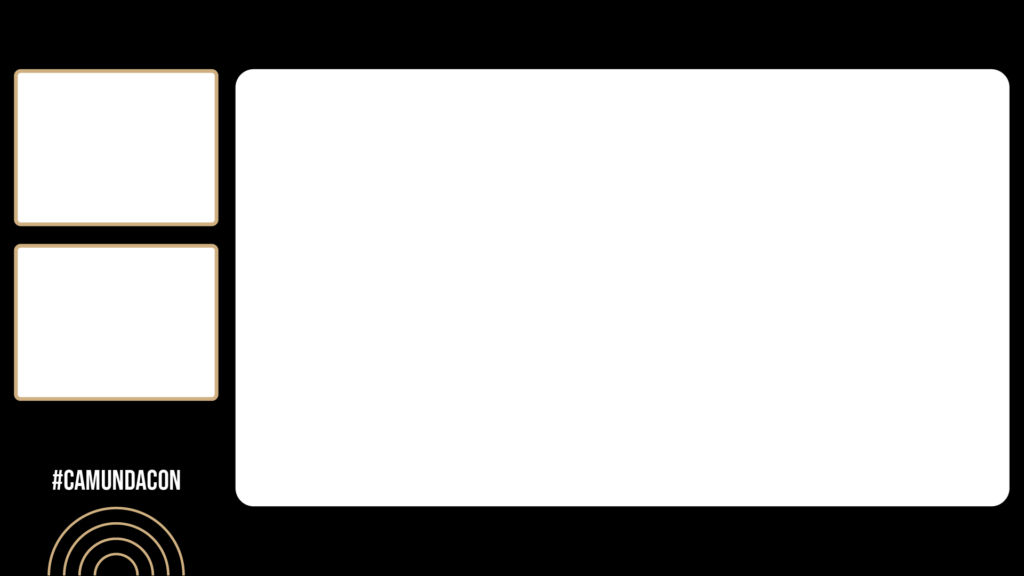
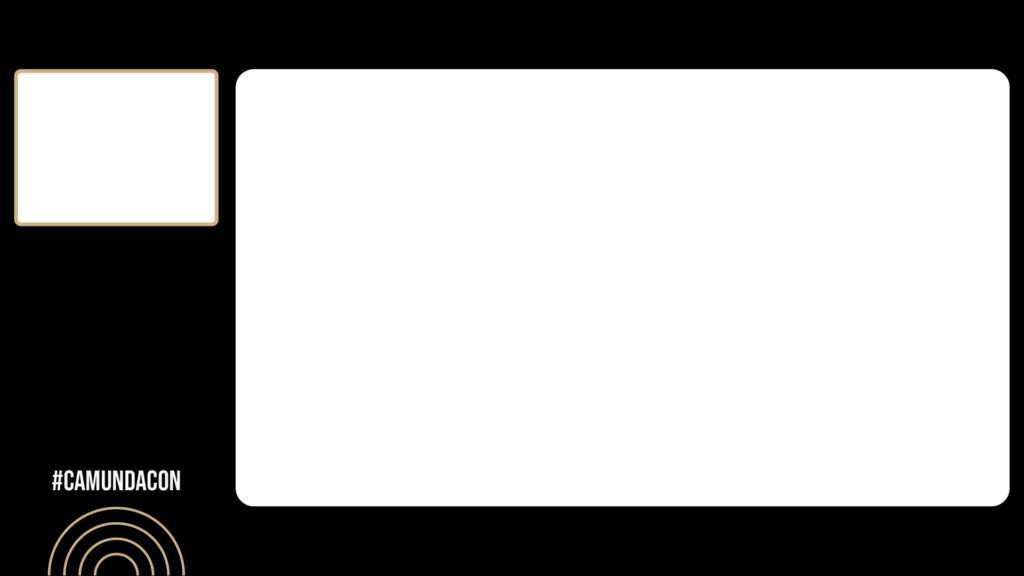
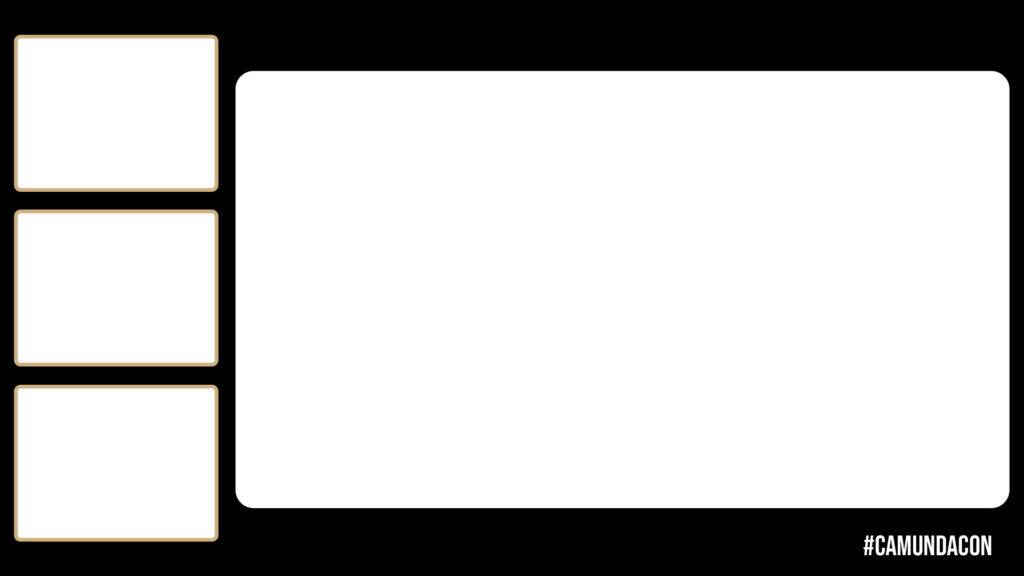
- Lower Thirds: Used for displaying names, titles, and other information. You can include lower third graphics directly on your overlay. Create a PNG for each speaker in the presentation.
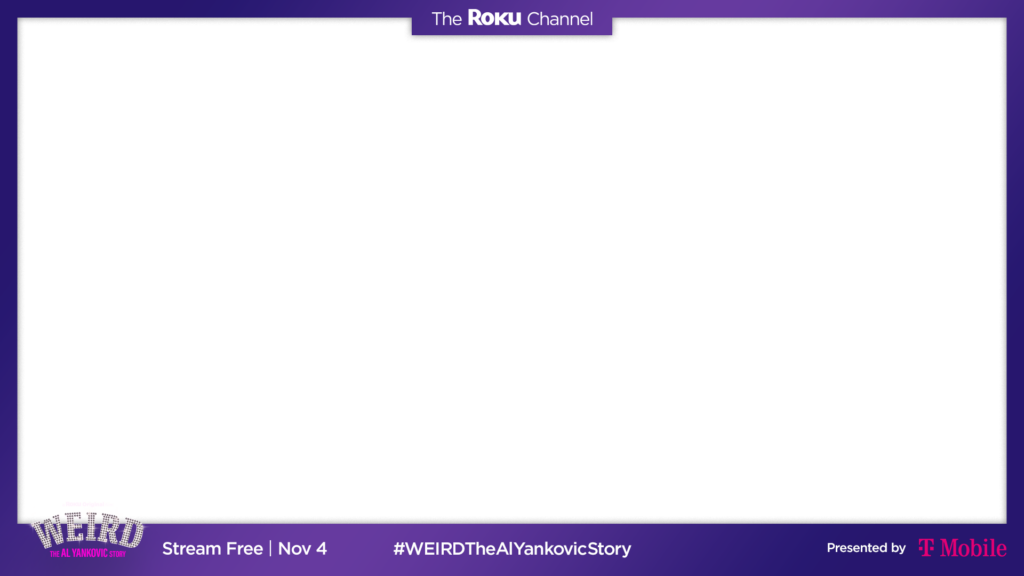
- Logos: Typically placed in one of the corners.
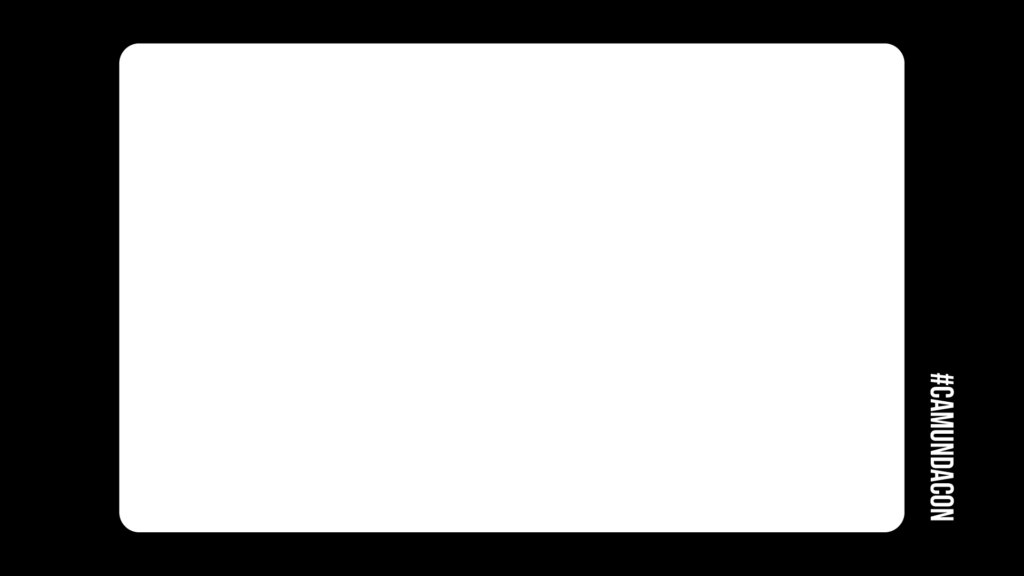
- Full-Screen Slides: Used sparingly to announce “starting soon,” breaks, transitions, or “thanks for watching.”
- Countdown Timer: A countdown helps the online know when the program will begin. For events requiring a countdown, create a full-screen slide, leaving pixel space for a timer which can be applied in vMix.
Be mindful of where your live stream will be viewed. Ensure your design does not overlap with any platform-specific branding, such as a “LIVE” bug or other elements added by YouTube or Vimeo.
Creating Your vMix Overlay
- Start with a 1920×1080 canvas in your design software (e.g., Photoshop, Illustrator).
- Design your graphic elements, leaving transparent areas where video feeds will appear.
- Export your design as a PNG with transparency enabled. Double-check that your file has a transparent background after saving.